Most beginners buy supplies first and tools second, and end up with a drawer of glitter, ribbon and beads but nothing to cut the ribbon cleanly. The tools matter more than the pile of materials, because the same ten tools work across nearly every project you will try early on. This list covers essential craft tools for beginners, ranked by how often you will reach for them, with a low-cost pick and a “wait on this” note for each.
Why a small toolkit beats a big haul of supplies
Materials get used up. Tools get used again on the next project and the one after it. A pair of scissors that cuts paper, ribbon and felt cleanly earns its place on every craft table you will ever set up.
A small toolkit also keeps your budget under control. When you only own what you actually use, you can put your money into the project itself, whether that is a kit, some yarn or a few sheets of good paper. If you are still deciding what to make, the guide to DIY craft kits for beginners is a good place to start, and the toolkit below will work with almost any kit you pick.
The ranking here follows one rule: a tool ranks high if you would stop mid-project because you did not have it. Tools you would only enjoy owning rank lower or move to the skip list.
Tools 1 to 3: the cutting and measuring basics you’ll use on every project
1. Sharp, general-purpose scissors. Nearly every project starts with cutting something, so this is the first thing to buy. Dull scissors chew paper edges and make fabric fray, and a ragged cut shows in the finished piece. Look for a pair that feels comfortable in your hand and closes smoothly along the whole blade.
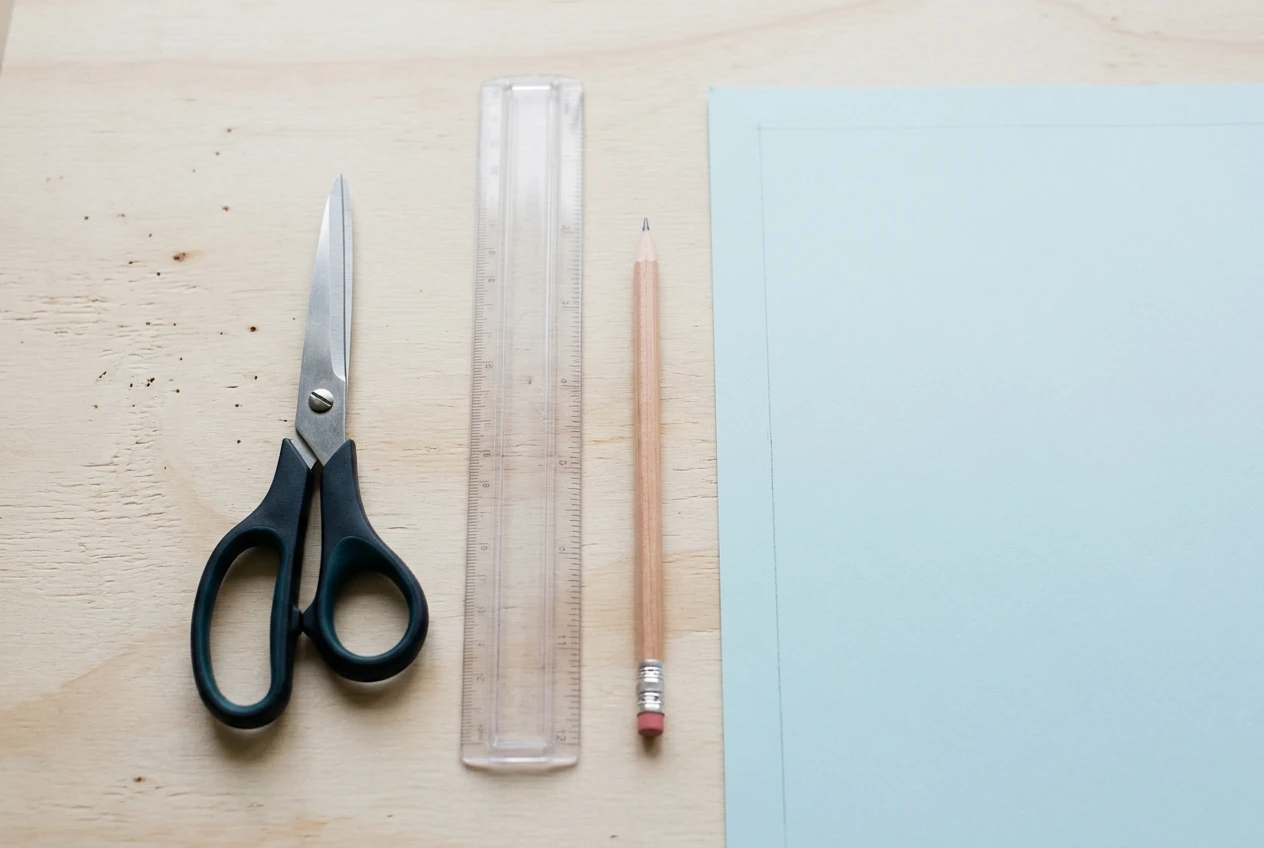
- Low-cost pick: A basic household or student pair is enough. Choose one with a straight, sharp blade and keep it for craft use only, since cutting tape and adhesive-backed material gums up the blades.
- Wait on this: Specialty scissors such as pinking shears, tiny embroidery snips or decorative edge cutters. They are fun, but a plain pair handles the first several projects.
2. A ruler with a metal edge or clear markings. Straight lines and even spacing separate a project that looks handmade on purpose from one that looks accidental. A ruler also lets you follow kit instructions that give measurements, and it guides a cut so the edge comes out straight.
- Low-cost pick: A standard 12-inch ruler, either clear plastic so you can see your work through it, or metal so a blade will not shave the edge. If you only buy one, the clear plastic kind is easier to line up on a page.
- Wait on this: Quilting rulers, T-squares and drafting sets. You will know when you need one because a project will say so.
3. A pencil with an eraser. Marking before you cut or glue is the cheapest way to avoid mistakes. A light pencil line can be erased, while a pen line cannot, so you can correct a placement before it becomes permanent.
- Low-cost pick: A regular pencil with a decent eraser, plus a small separate eraser if the one on the end smudges. Keep the lines light so they disappear under paint or glue.
- Wait on this: Tailor’s chalk, water-soluble fabric pens and mechanical drafting pencils. These make sense once you start sewing or working on fabric.
Tools 4 to 6: sticking things together without a mess
Adhesives are where beginner projects most often go wrong. A strand of glue across a finished surface, or a piece that slides while drying, is usually a tool-choice problem rather than a skill problem. The right adhesive for the material makes the job much easier.
4. A low-temperature hot glue gun. It grips quickly, which means you can hold a piece for a few seconds and move on instead of waiting for it to dry. It works on wood, cardboard, fabric trim, foam and many decorations. Hot glue can burn skin, so keep a scrap of cardboard under the nozzle and keep your fingers away from fresh glue. The safety tips for beginners cover this in more detail.
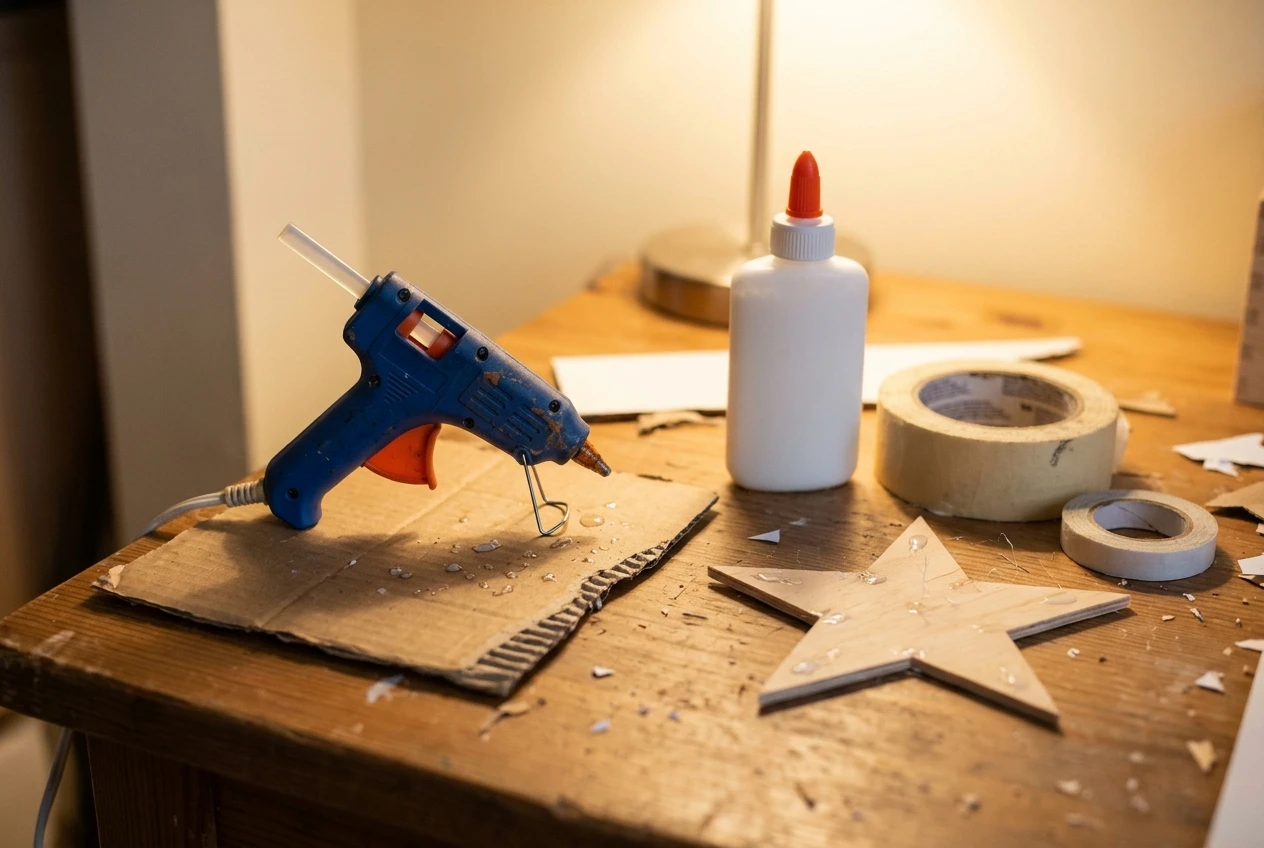
- Low-cost pick: A small, low-temperature mini glue gun with a few glue sticks. Low-temperature models are gentler on fingers and on delicate materials like thin foam.
- Wait on this: A high-temperature gun, a cordless one, or a large stock of specialty glue sticks. Buy those if you find yourself building bigger or heavier projects.
5. A bottle of white craft glue. Where hot glue grabs fast, white glue (often sold as PVA or school glue) dries clear and works well on paper, cardboard and some fabrics. It gives you a little time to adjust a piece before it sets, which is useful when you are placing something carefully.
- Low-cost pick: A standard bottle of white craft glue. A small bottle is plenty to begin with, and you can add a thin brush or a toothpick to spread it neatly.
- Wait on this: Specialty adhesives such as fabric glue, jewelry glue or heavy-duty bonding glue. Read the instructions in your kit first, because many tell you exactly which type to use.
6. Masking tape and double-sided tape. Masking tape holds pieces in place while glue dries, marks a straight edge for painting and temporarily sticks a pattern to your table. Double-sided tape joins paper and card without any wet glue, which leaves nothing to smear.
- Low-cost pick: One roll of masking tape and one roll of double-sided tape. They cost little and replace a lot of fiddly holding.
- Wait on this: Washi tape collections, specialty painter’s tape and heavy-duty mounting tape. Washi tape is lovely for decorating, but it is an extra rather than a starting need.
Tools 7 to 8: the small helpers that save your fingers and your patience
These two are easy to overlook because they do not make anything by themselves. They make the other work easier, and the first time you need one you will wish you had it.
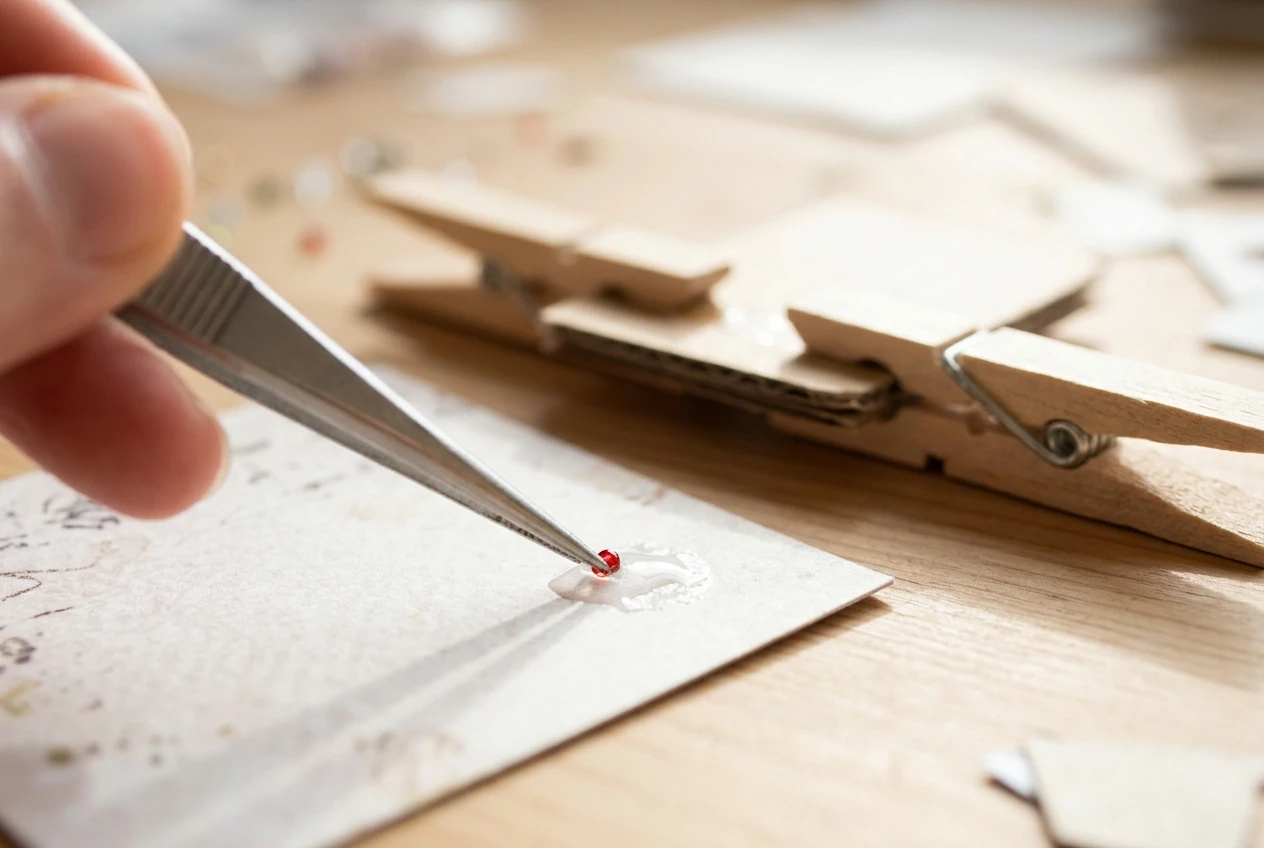
7. Tweezers. Small beads, sequins, tiny pieces of foam and stray threads are all hard to handle with fingers, especially once glue is involved. Tweezers let you place things exactly where they belong and pick up pieces you would otherwise drop or smear.
- Low-cost pick: A basic pair of pointed or angled tweezers from the beauty aisle or a hobby section. Pick a pair whose tips meet cleanly when you squeeze.
- Wait on this: Specialty sets with several tip shapes, or reverse-action tweezers. A single plain pair covers most beginner needs.
8. Clips and clothespins. Once you glue two pieces together, something has to hold them while the glue sets. Clips and clothespins apply steady pressure, so pieces stay flat and joined while you work on something else instead of standing there pressing with your fingers.
- Low-cost pick: A handful of wooden clothespins or small binder clips. Many people already have some at home.
- Wait on this: Dedicated clamps, which are made for heavier woodworking and are more than a beginner paper or decor project needs.
Tools 9 to 10: the ones that make projects look finished
Projects often work structurally but look unfinished: raw edges, bare surfaces, a missing last detail. These two tools handle the last step, which is the one people notice first.
9. A small set of paintbrushes. Even kits that come pre-colored often leave room for touch-ups, edge painting or small details. A few brushes in different sizes let you paint a broad area with a flat brush and fine details with a pointed one. Brushes also double as glue spreaders when you are working with white glue.
- Low-cost pick: A basic multipack with a flat brush, a round brush and a fine detail brush. Wash them after each use so the bristles do not stiffen.
- Wait on this: Artist-grade brushes and large sets. If you only paint occasionally, an inexpensive set lasts a good while.
10. Fine sandpaper or a sanding block. If you work with wood pieces, wooden beads or cut cardboard, rough edges and splinters are common. A few passes with fine sandpaper smooth them, and the piece feels better in the hand and takes paint more evenly. You do not need much for this, but when you need it, nothing else substitutes.
- Low-cost pick: A few sheets of fine-grit sandpaper, or a sanding sponge that you can fold and grip. A nail file also works on very small pieces.
- Wait on this: Power sanders, sanding kits and coarse grits. Those are for building and restoring furniture, not for smoothing the edge of a small craft piece.
What you can skip until a project actually calls for it
Craft stores and online shops show a lot of attractive equipment, and much of it is worth buying only when a specific project asks for it. Here is a list of things beginners often buy early and rarely use:
- Electronic cutting machines. These are useful for crafters who cut many identical shapes, but scissors and a ruler handle your first projects.
- Craft knives and cutting mats. They are valuable for precise cuts, but they add a real cut risk. Add them once you are comfortable with the basics, and read the safety guidance first.
- Laminators, heat guns and embossing tools. Each one serves a narrow type of project.
- Large paint and marker sets. A few colors you will use beat forty you will not. You can often mix what you need from a few basics.
- Organizers and storage systems. A shoebox or a basic container works until your collection grows enough to need more.
- Specialty punches and stamps. These are decorative extras, not foundations.
A good test is to wait until a project’s instructions list a tool you do not own. That is a clear signal the purchase will be used right away. For common slip-ups to avoid along the way, see common mistakes new DIY crafters make.
How these tools fit with the craft kits you already own or plan to buy
Most craft kits include the materials for a project, such as the paper, beads, wood pieces or yarn. Many include a few basic items too, but the list varies by kit and the quality is often basic. Your own toolkit covers what a kit leaves out and improves the quality of what it includes.
A practical habit is to check the instructions before you start and compare the tools it mentions with your own. If the kit calls for something you have, you can begin immediately. If it calls for something you do not have, you know the one thing to buy. The guide to understanding instructions walks through how to read that list.
Your tools also let you stretch a kit beyond its original design. With scissors, glue, a brush and a few clips, you can change colors, add details or use leftover pieces for something new. The articles on customizing a DIY craft kit and using leftover craft kit materials show how far a small toolkit can go.
Setting up a starter toolkit on a small budget
You do not need to buy all ten tools at once. Here is a sensible order:
- Buy first: scissors, a ruler and a pencil. These three cover cutting, measuring and marking, and you will use them on the very first project.
- Buy next: white craft glue, masking tape and a low-temperature glue gun. This gives you adhesives for most materials.
- Add as needed: tweezers, clips, paintbrushes and sandpaper. Buy each one the first time a project makes you wish you had it.
Check what you already own before you buy anything. Pencils, rulers, clothespins, tape and old paintbrushes are often already in a drawer at home. Choose basic versions over branded ones, and buy a tool only when you have a project in mind that will use it. For more on balancing spending with creativity, see crafting on a budget.
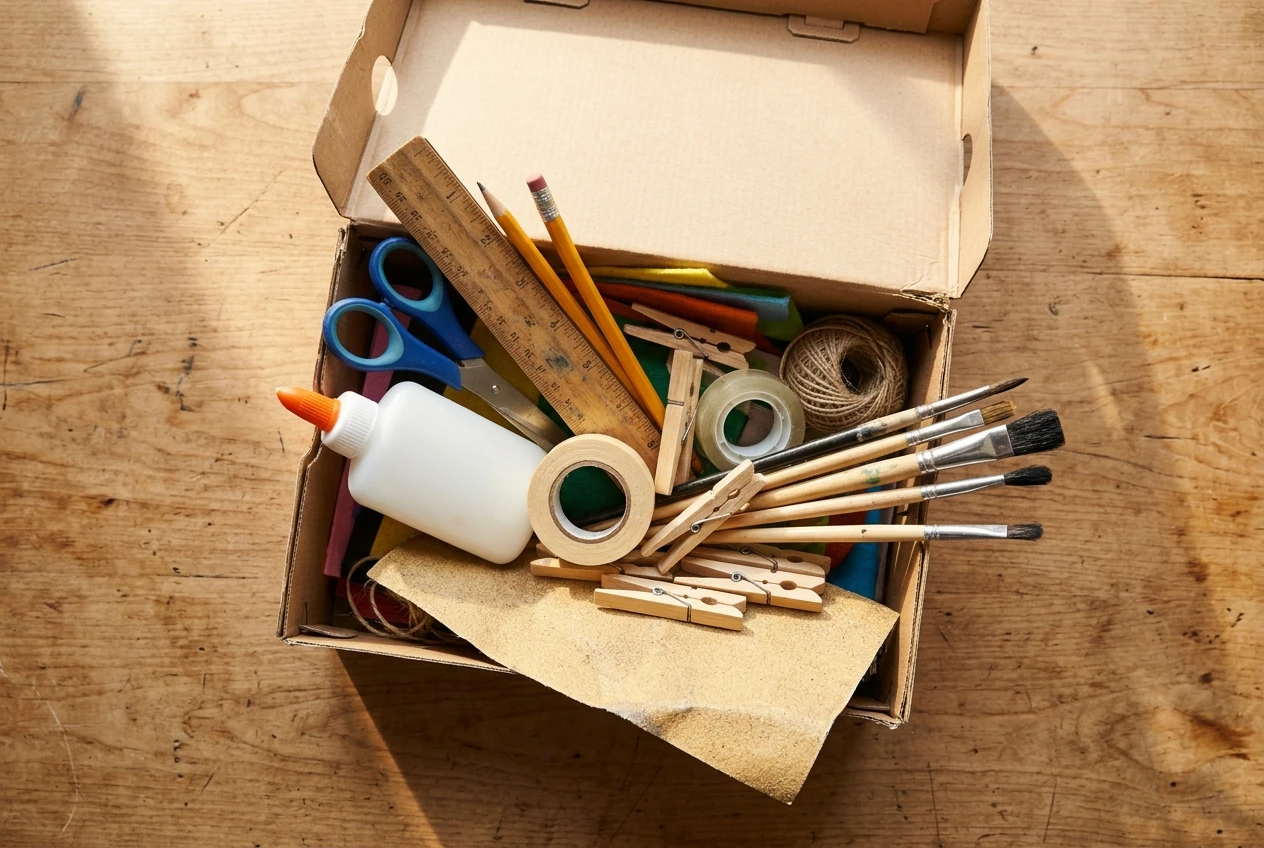
Keep your tools together in one container so you can start a project without hunting for them. A shoebox or a small bin works well, and a ready toolkit makes it easier to sit down and make something on a free evening.
Browse the starter craft kits in the shop and subscribe to get a new low-cost project idea in your inbox each week.