If you’re just starting out with crafting, figuring out how to follow instructions can feel a bit daunting. Patterns, tutorials, or kits often use terms or steps that might sound unfamiliar, especially if you’re new to the whole creative scene. My aim here is to share some practical tips and walk-throughs for understanding instructions, so you can jump into your next project with confidence.
Why Clear Instructions Matter in Crafting
So much of crafting success comes from how well you can interpret the directions given in patterns, books, or video tutorials. Good instructions help save time, limit frustration, and let you enjoy the process without so much second-guessing. For beginners, clear directions can be the difference between a finished project you’re proud of and one that ends up lost in your supply bin.
The craft world is filled with codes and shorthand, such as knit two together, single crochet, decoupage, and bias tape. Understanding these early on means you’re less likely to get stuck halfway through a project or waste time improvising when you don’t have to. Most patterns and kits aim to make things doable for everyone, but sometimes authors assume a bit of background knowledge. That’s where learning a few tricks for reading and following instructions comes in handy.
The Basics: What You’ll Find in Crafting Instructions
Before you actually start crafting, it helps to know what kind of info instructions typically include, and why each bit is there. Here’s what I usually expect to find:
- List of Materials: Every project starts here. Knowing what supplies you need saves you from multiple store runs or last-minute substitutions that might not work out.
- Skill Level: Some patterns will say “Beginner,” “Intermediate,” or “Advanced.” Pay real attention to these so you don’t get overwhelmed.
- Abbreviations and Terms: Crafting comes with its own language. A pattern, for example, might use “sc” for single crochet or “k2tog” for knit two together. Most instructions have a mini-glossary at the front.
- Step by Step Directions: These outline what to do, often in numbered or bulleted steps. Occasionally, there are diagrams or photos to back things up.
- Troubleshooting Tips: Some instructions include what to do if something goes wrong. These are worth checking before you even start.
Extra tip for beginners: If you ever stumble upon instructions missing a glossary or images, don’t hesitate to look online for resources that match your project, especially forums or craft communities where peers are happy to help.
Getting Started: How to Read Craft Instructions
Tackling craft instructions is a lot easier when you break things down. Here’s how I usually approach a new project:
- Read All the Way Through First: Before picking up any supplies, I always scan the entire set of instructions. This gives me a sense of the overall plan and lets me track down any unfamiliar words to check out in advance.
- Highlight or Circle Key Information: Terms I don’t know, steps that seem tricky, or measurements usually get a quick highlight. It sounds basic, but having these points pop out at me helps a ton while working.
- Double-Check Measurements and Quantities: If the instructions call for a specific size or amount like beads, thread lengths, or fabric, checking that twice helps avoid wasted material.
- Lay Out Supplies: I sort everything before I start. This helps confirm I have what I need and makes each step go more smoothly since I’m not searching in boxes every five minutes.
- Look for Diagrams or Videos: If the written directions are confusing, I look up a quick video or sketch. Most crafts have online communities or tutorials if you get stuck.
Taking the time to get set up this way pays off and usually makes even complex instructions much more manageable. Jumping into a project with prep work done can boost your confidence right out of the gate.
Common Challenges and How to Beat Them
No matter how well explained instructions are, some parts will stump everyone at some point. Here are a few hurdles I’ve run into and how I usually get past them:
- Unfamiliar Terminology: Some words or abbreviations can feel like a secret code. Searching for a glossary online or browsing forums like Ravelry (for knitting or crochet) or YouTube is super useful for breaking things down. Even just asking in a crafting Facebook group can clear things up quickly.
- Missing Steps or Ambiguous Instructions: Sometimes patterns accidentally skip steps or aren’t very clear. If I notice something seems off, I check a second pattern for the same keychain, hat, or bracelet, or I search for video tutorials covering similar projects.
- Visual Learning vs. Written Steps: Not everyone finds written steps easy to follow. Watching a quick demonstration video can often bridge the gap between not getting it and an “aha!” moment.
- Project Too Advanced: Occasionally, I get halfway through and realize the project is more complicated than I expected. Setting it aside and returning after practicing with easier patterns has helped, so has connecting with more experienced crafters online for tips.
Unpacking Abbreviations
Learning to look over closely at the abbreviations early on makes a dramatic difference. In knitting, for example, “YO” stands for “yarn over.” It’s a move to create a new stitch. In sewing, “RS” and “WS” usually refer to the right side or wrong side of the fabric. Pinning a cheat sheet to my work table is a pretty handy trick that has saved me several times.
Visual Clues and Photos
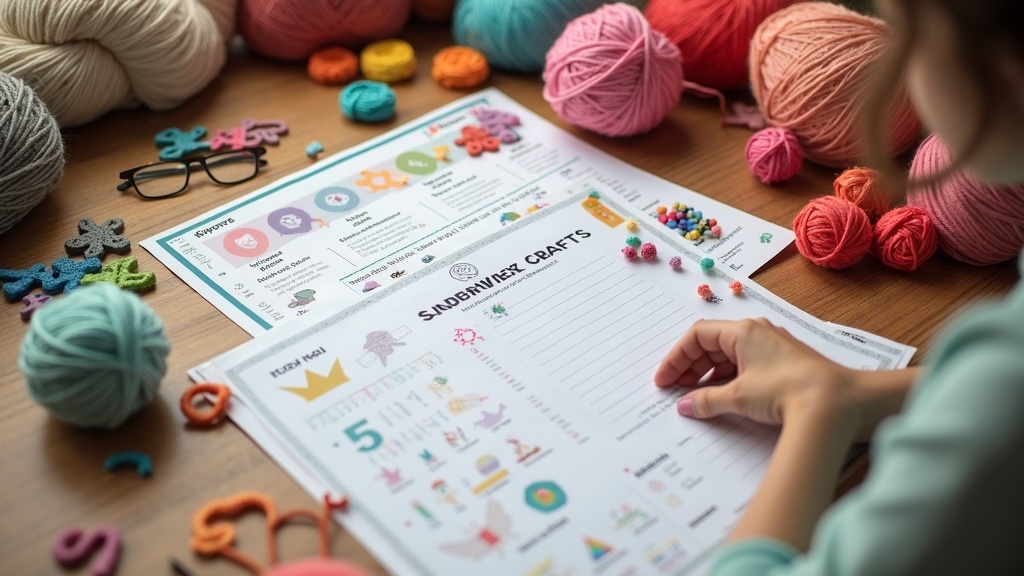
Some patterns provide helpful illustrations or step by step images. If you’re more of a visual learner, picking patterns with photos helps a lot. For digital only patterns, zooming in or printing out key steps makes fiddly parts a lot less confusing. If there are no images, searching for user-uploaded photos or community project galleries connected to the pattern can help set expectations.
Tips for Mastering Craft Instructions
With a little practice, figuring out instructions feels a lot less intimidating. Here are a few more tricks I’ve picked up:
- Keep a Craft Notebook: Jot down any terms you frequently check out, quick sketches for tricky steps, or rewrite confusing instructions in your own words.
- Join a Beginner Friendly Craft Group: Whether in person or online, group chats are super useful for on-the-fly advice.
- Don’t Be Afraid to Modify: Sometimes instructions call for materials you don’t have or sizes that don’t fit your needs. Adapting to what’s available is totally okay for lots of projects, especially as you build confidence.
- Take Breaks: If a step isn’t making sense, stepping away for a few minutes and coming back with fresh eyes often makes all the difference.
Another helpful approach is to snap photos as you work, marking them with notes for any tricky spots you might want to revisit later. This can be a lifesaver, especially for detailed sewing or complex knitting projects you might pause and resume several times.
Some Real World Examples for Crafters
Here are a couple of starter projects where getting familiar with instructions comes in handy and teaches you new skills along the way:
- Knitting a Simple Scarf: Most scarf patterns have a short list of supplies and a single repeated stitch. They’re great for practicing and figuring out how patterns state row repeats, when to switch yarn, and how to “bind off” at the end.
- Building a Friendship Bracelet Kit: These often show diagrams for how to tie knots and arrange colors. Crafting several bracelets with the same set of instructions lets you see how wording and layouts can differ between sources.
- Sewing a Basic Tote: Tote patterns use diagrams to show how fabric pieces should be placed and stitched. They’re a perfect way to get used to “seam allowance” and “pressing seams,” which are common fabric crafting directions.
If you yearn for more challenge, assembling a simple embroidery sampler or a beginner quilting block will introduce you to a wider range of symbols and shorthand. Starting with beginner levels in these areas allows you to grow accustomed to following diagrams as well as written steps, making it easier to make the most of more advanced projects when you’re ready.
Frequently Asked Questions
Beginners in crafting often ask similar things. Here are a few I often hear:
Question: What if I keep making mistakes following instructions?
Answer: Everyone makes mistakes early on, but that’s how you get a sense of what works. If you’re frustrated, try a simpler project, look for video help, or ask for advice in a crafting group. Mistakes often teach you the most.
Question: Are kits or pattern books better for learning?
Answer: Kits are sometimes easier since they come with prechosen materials and focused instructions. Pattern books are great once you want more choices or want to try mixing things up.
Question: How do I organize instructions so I don’t get lost?
Answer: Using sticky notes, highlighters, and even snapping photos of key steps on your phone can help you keep your place. I keep all instructions for ongoing projects together in a folder.
Building Confidence With Every Project
Getting good at reading and understanding instructions opens up the whole world of crafting. You’ll spot new projects and feel excited to try them, rather than hesitating because something looks confusing. I’ve found that the more you practice, the more you start to decode patterns and grow comfortable swapping materials, fixing slip-ups, and even writing your own notes. Before you know it, you’ll be passing along tips to new crafters who just joined in.
If you’re curious about sharpening your skills further, following a couple of craft YouTubers or joining a local beginner workshop can provide fresh ideas or reminders for interpreting instructions. Enjoy each project, experiment a little, and remember, every crafty success starts by reading the instructions first. The more steps you take, the easier this all becomes, and soon enough you’ll look back amazed at the progress you’ve made one project at a time.
When I first started crafting, instructions always felt overwhelming because I tried to follow them word for word without really understanding the flow of the project. What helped me was slowing down, breaking each step into smaller actions, and sometimes even rewriting the instructions in my own words. I also learned to keep a notebook nearby where I’d sketch quick diagrams or note down tricky stitches. Over time, this practice not only made following guides easier but also gave me more confidence to improvise when something wasn’t perfectly clear.
Slavisa, thank you so much for sharing your own experience of how slowing down and interpreting the instructions into ways you understand.